
Cold-Weather Solvent Welding: A Complete Guide for Contractors
As temperatures drop, solvent-welded joints require longer set and cure times
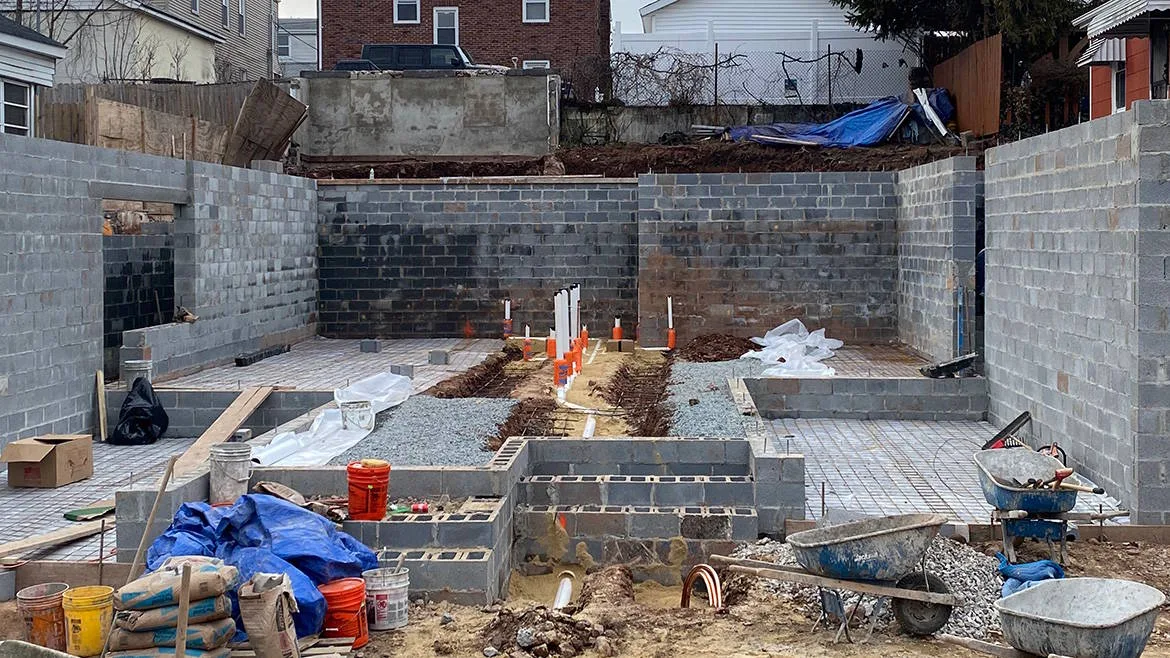
Cold-weather solvent welding requires contractors to select cements rated for the pipe material, system conditions and application temperature.
Solvent welding PVC, CPVC, and ABS pipe is a very familiar process for plumbing contractors, but falling temperatures change how both the materials and solvent cement behave. Cold slows solvent evaporation, makes plastic pipe more resistant to solvent action, and extends the time required for a joint to develop sufficient strength for handling and service.
The basic installation procedure does not change in winter. What changes is the margin for error. When working in colder conditions, pay closer attention to product selection, pipe preparation, material storage, and, especially, set and cure times.
What Does Cold Do to the Joint?
A solvent-welded connection is created by chemically softening the pipe and fitting surfaces, allowing them to fuse together. As the solvents evaporate, the joint develops strength. At lower temperatures, that process occurs more slowly.
PVC and CPVC surfaces are also more resistant to solvent penetration when it’s cold. Near 0°F, plastic pipe can become increasingly brittle, adding another concern during cutting, handling, and assembly.
Humidity can further slow evaporation. When multiple conditions work against the installation, base your schedule on manufacturer cure-time recommendations rather than assuming the joint is ready because its exterior appears dry.
That distinction matters because working time, set time, and cure time are different:
- Working time is the brief period after cement is applied, and the pipe and fitting can be assembled and aligned.
- Set time is the period required for a joint to develop enough handling strength to be moved without disturbing the developing weld.
- Cure time is the longer period required before the joint reaches sufficient strength for pressure testing or service.
How to Keep Solvent Cement and Primer Workable
Whenever practical, prefabricate piping assemblies in a heated environment. Joints that must be completed outdoors can benefit from a temporary shelter to reduce exposure to wind and freezing temperatures.
Focus on the following items to keep cements and primers workable:
- Check the manufacture date. Unopened PVC and ABS cements, primers, and cleaners generally last about three years; CPVC cement, about two years.
- Use extra caution with opened cans. Once opened, evaporation and environmental exposure shorten shelf life. If the product is properly stored, they will remain usable after opening, but there is no guaranteed timeframe.
- Inspect before use. Discard cement that is thick, stringy, lumpy, paste-like, or has a noticeably changed odor. Do not thin thickened cement with primer, solvent, or other liquids.
- Store properly. Keep cans tightly sealed between 40°F and 110°F. Repeated freeze-thaw cycles can reduce performance, so avoid leaving products in unheated trucks or garages during winter.
Tip: Bringing cement and primer indoors between shifts or service calls can help keep them within their recommended storage and application ranges.
Why Product Selection Matters
Cements are formulated for particular pipe materials, diameters, system types, and application temperatures. A cement intended primarily for normal ambient conditions should not automatically be treated as suitable for subfreezing work. Check the temperature rating printed on the container along with applicable plumbing codes before beginning the installation.
Keep the following in mind when choosing solvent cement:
- Temperature: Most solvent cements are designed for use between 40°F and 110°F. For colder conditions, choose a product specifically rated for low temperatures.
- Moisture: If water cannot be fully eliminated, use a cement formulated for wet conditions.
- Pipe size and pressure: Larger pipe may require heavier-bodied cement, while pressure systems require products approved for that application.
- Cure time: Temperature, pipe size, and cement formulation all affect how long a joint must cure before service.
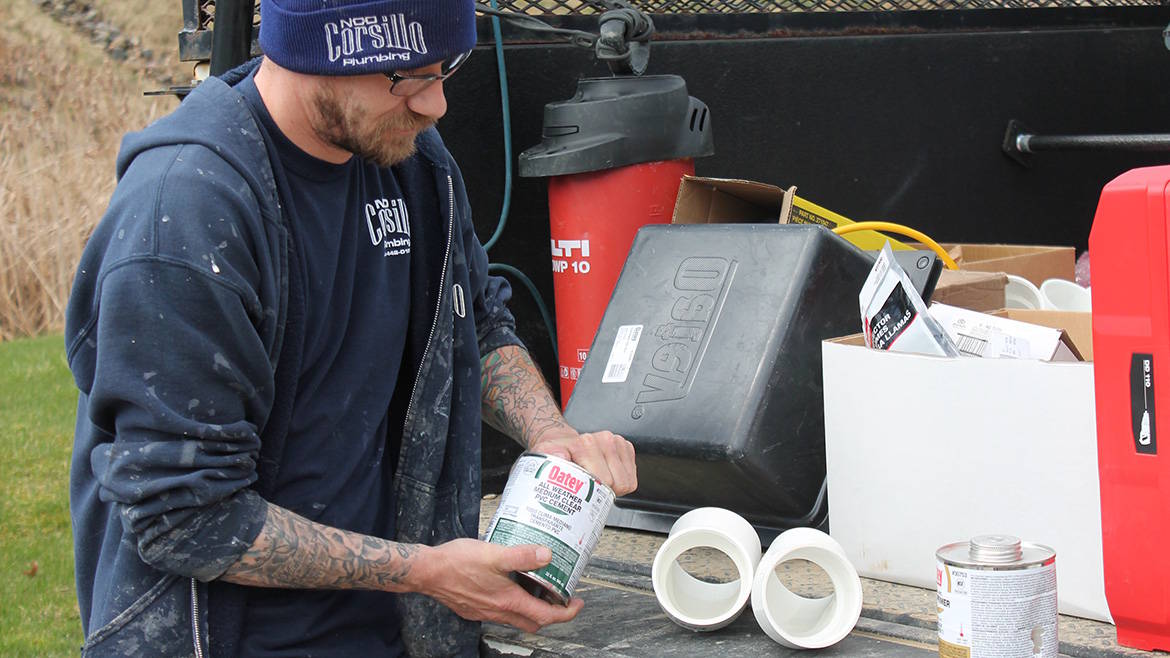
Proper pipe preparation becomes even more important in cold conditions. Pipe and fittings should be clean, dry and properly prepared before solvent cement is applied. Photo credit: Oatey Co.
On a four-unit apartment project in Belleville, New Jersey, plumbing contractor Victor Trentacost needed a solvent cement that could perform at temperatures between 20°F and 30°F while installing several hundred feet of under-slab PVC. He switched from a regular-body cement to an all-weather formulation rated for colder conditions and paired it with careful moisture removal and aggressive primer application. The rough-in stayed on schedule, all piping passed inspection, and Trentacost reported no issues with popped joints.
For CPVC systems, product options are available that are rated for cold-weather use down to 0°F and don’t require primer, with one option being FlowGuard Gold 1-Step Yellow Cement.
Even with low-temp cements, avoid solvent welding below 0°F unless you’re using a specialty product rated for it, as pipe brittleness increases and cure times rise sharply.
Put More Emphasis on Surface Preparation
Cold conditions make proper preparation especially important.
Keep the following steps in mind during preparation:
- Cut the pipe square, deburr, and chamfer or bevel the edge before assembly. Sharp edges can scrape cement from the fitting and create leak paths.
- Keep pipe and fittings clean and dry. Remove dirt, oil, ice, and moisture. If water cannot be eliminated, use a cement formulated for wet conditions when appropriate.
- Apply primer thoroughly where required. Cold PVC and CPVC resist solvent penetration, so work primer into both surfaces before cementing. ABS does not use primer.
- Assemble immediately after applying cement. Fully insert the pipe, rotate as directed, and hold the joint long enough to prevent push-out.
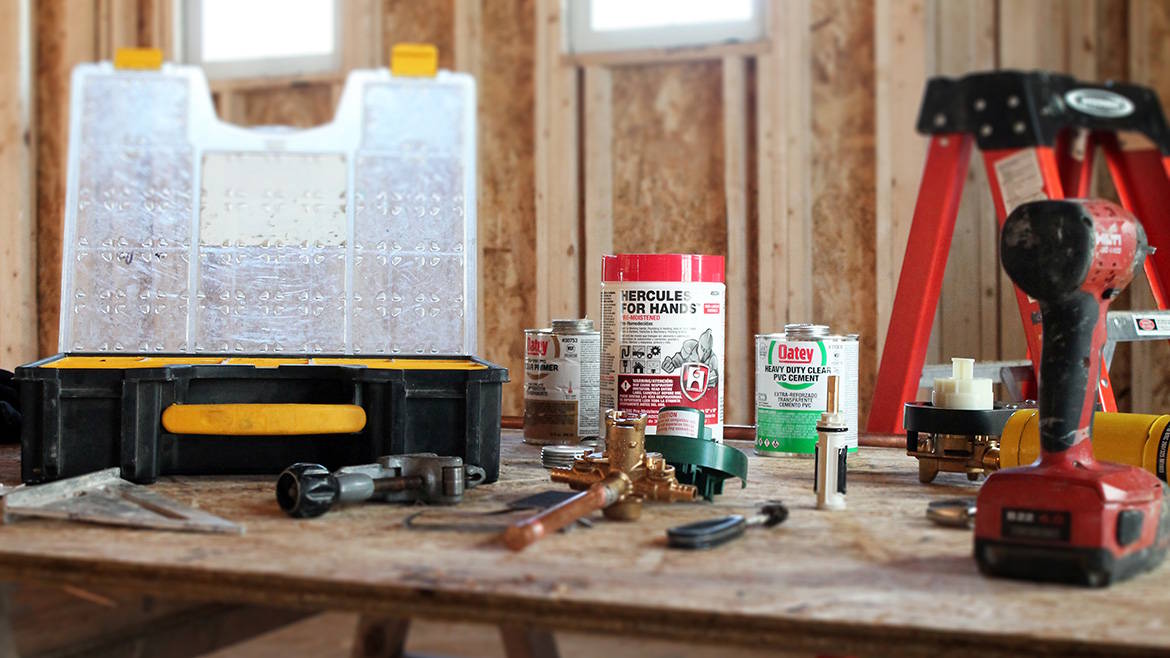
As temperatures drop, solvent-welded joints require longer set and cure times before pressure testing or being placed into service. Contractors should follow manufacturer guidance based on pipe size, temperature and operating pressure. Photo credit: Oatey Co.
Give the Joint More Time
The most consequential winter adjustment may be scheduling.
Set and cure times increase as temperatures drop, and larger pipe generally requires substantially more time than smaller diameters. Pressure also matters. Those differences illustrate why a single rule, such as "wait an hour," is unreliable.
Consult the cement manufacturer's current cure-time chart for the exact pipe material, diameter, temperature, and operating pressure. Extremely cold installations may require direct technical guidance rather than extrapolating from warmer-temperature charts.
Use the charts below as a cold-weather reference, and always follow label instructions and technical guidance for your specific application.
PVC & ABS — Cure Time by Temperature and Pressure for Colder Weather
Note: For 0°F – 20°F (-18°C – 7°C), contact Oatey Technical Services for cure-time guidance.
| Pipe diameter | Pressure | 40–60°F (4–16°C) | 20–40°F (-7–4°C) |
|---|---|---|---|
| 1/2" to 1-1/4" (13–32 mm) | Up to 180 psi | 20 min | 30 min |
| 1/2" to 1-1/4" (13–32 mm) | 180 psi+ | 8 hrs | 36 hrs |
| 1-1/2" to 3" (40–80 mm) | Up to 180 psi | 45 min | 60 min |
| 1-1/2" to 3" (40–80 mm) | 180 psi+ | 16 hrs | 72 hrs |
| 4" to 5" (100–125 mm) | Up to 180 psi | 4 hrs | 36 hrs |
| 4" to 5" (100–125 mm) | 180 psi+ | 24 hrs | 4 days |
| 6" to 8" (150–200 mm) | Up to 180 psi | 16 hrs | 3 days |
| 6" to 8" (150–200 mm) | 180 psi+ | 48 hrs | 9 days |
CPVC — Cure Time by Temperature and Pressure for Colder Weather
Note: For temperatures below 40°F (20°F – 40°F and 0 – 20°F columns), contact Oatey Technical Services for cure-time guidance.
| Pipe diameter | Pressure | 40–60°F (4–16°C) |
|---|---|---|
| 1/2" to 1-1/4" (13–32 mm) | Up to 180 psi | 2 hrs |
| 1/2" to 1-1/4" (13–32 mm) | 180 psi+ | 12 hrs |
| 1-1/2" to 3" (40–80 mm) | Up to 180 psi | 4 hrs |
| 1-1/2" to 3" (40–80 mm) | 180 psi+ | 24 hrs |
| 4" to 5" (100–125 mm) | Up to 180 psi | 12 hrs |
| 4" to 5" (100–125 mm) | 180 psi+ | 36 hrs |
| 6" to 8" (150–200 mm) | Up to 180 psi | 16 hrs |
| 6" to 8" (150–200 mm) | 180 psi+ | 48 hrs |
Important:
Avoid trying to accelerate curing with torches, heat guns, or direct heat applied to the joint. Besides introducing an ignition hazard around solvent vapors, direct heat can compromise the pipe or developing connection. If conditions need to be moderated, creating a protected, temperature-controlled workspace is the safer approach while maintaining adequate ventilation.
Cold-weather solvent welding remains practical when products are rated for the conditions and installers account for the effects of low temperatures on the process. Thorough preparation, controlled material storage, and longer set and cure periods help contractors maintain the same objective they have in warmer weather: a properly fused joint that is ready for the demands of the system.
FAQs
How cold is too cold to solvent weld?
Avoid solvent welding below 0°F unless you’re using a specialty cement designed for sub-freezing conditions. Even if a product is rated lower, cure times increase dramatically, and pipe becomes more brittle as you approach and go below zero.
How long does solvent cement take to cure in cold temperatures?
Cold temperatures slow evaporation and extend cure time. At around 40°F, plan on roughly double normal cure time — up to about 48 hours for small-diameter pipe.
Can I warm solvent cement to make it easier to use?
Yes — warm it indoors to room temperature with the lid sealed. Don’t use open flames or direct heat sources on cement containers.
What happens if a joint freezes before curing?
If a joint freezes before it fully cures, proper fusion may not occur, and the joint can fail or leak. Keep newly made joints above freezing until they are fully cured.
Looking for a reprint of this article?
From high-res PDFs to custom plaques, order your copy today!


