Guest Editorial | Chris Carrier
Tips and tools for 'Fix a Leak Week' and beyond
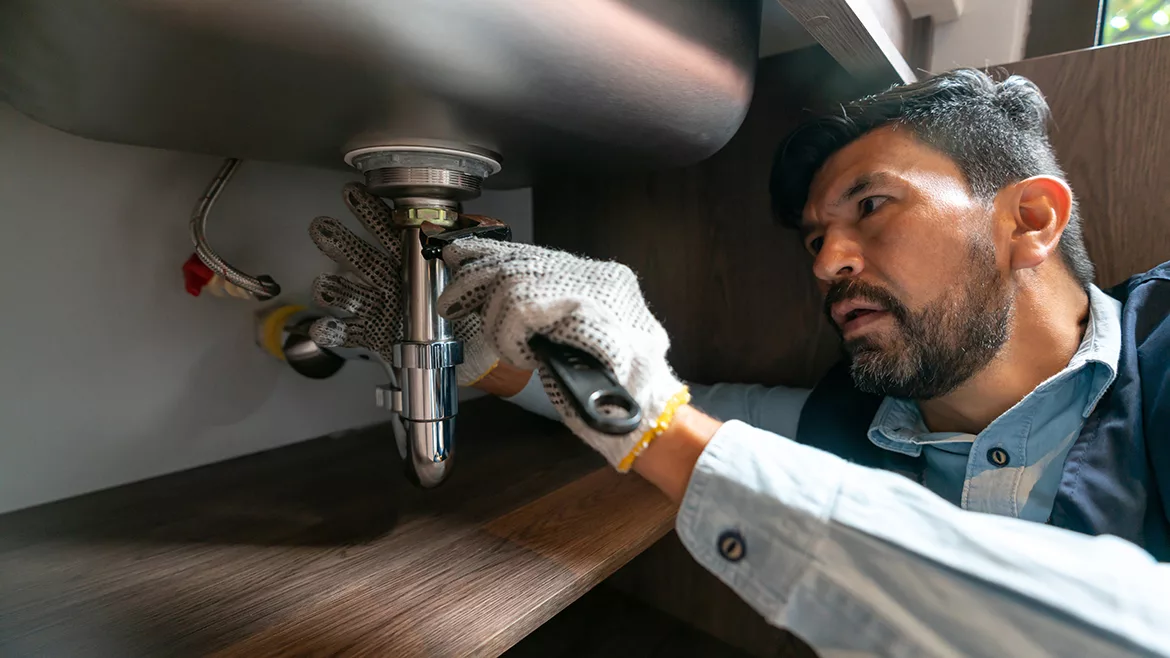
A plumber fixing a leak in the kitchen sink of a house, Image courtesy of Hispanolistic / E+ / Getty Images
In an era where environmental conservation is more critical than ever, the U.S. Environmental Protection Agency (EPA) is at the forefront of initiatives aimed at safeguarding our natural resources. One such commendable initiative is the annual "Fix A Leak Week," running March 18-24, which promotes water conservation and public empowerment in tackling household and workplace water leaks.
What is Fix A Leak Week?
Fix A Leak Week is a national campaign orchestrated by the EPA under its WaterSense program, designed to raise public awareness about the significance of detecting and fixing water leaks at home and in the workplace. This week-long event encourages households, businesses and communities to inspect their plumbing fixtures and irrigation systems for leaks, which can collectively waste trillions of gallons of water annually in the United States alone. It also encourages them to call a pro when they find a leak that's not an easy fix.
According to the EPA, the average household's leaks can account for nearly 10,000 gallons of water wasted every year and 10% of homes have leaks that waste 90 gallons or more daily. Did you know a faucet or pipe dripping away one drop per second is like pouring 3,000 gallons of water down the drain every year? That's enough water to take more than 180 showers.
Tips for finding leaks
The Fix A Leak Week initiative emphasizes a do-it-yourself approach to identifying leaks, offering straightforward tips and techniques. From monitoring water bills for unexplained increases to conducting dye tests in toilets, as a professional, you can provide practical guidance for customers of every skill level.
Toilet leaks
One of the most common sources of household water wastage, toilet leaks, can often go unnoticed. Encourage customers to drop food coloring into the toilet tank and wait to see if the color seeps into the bowl without flushing. This could indicate a leak that could cost many gallons of water and increase utility bills.
Faucet leaks
Faucet leaks are another culprit of water loss, often resulting from worn-out rubber washers. Fix A Leak Week educates the public on how to identify and replace these washers, offering simple fixes that can save both water and money. To spot a faucet leak from worn-out rubber washers in a home or office sink, your customers can take these five steps before calling you:
- Listen for drips: Notice any dripping sounds when the faucet is off, indicating a leak;
- Visual inspection: Look for water leaking from the faucet spout or underneath the sink, which may signal a washer issue;
- Operational check: Turn the faucet on and off to see if it shuts off completely and smoothly. Difficulty in operation can suggest washer wear;
- Feel for moisture: After drying the area, check under the faucet for wetness, a direct sign of a leak; and
- Inspect for damage: Look at the faucet for corrosion or mineral deposits, indirect signs of a potential leak.
For a definitive diagnosis, your customers should consider disassembling the faucet to inspect the washers for cracks or deformation. If they're unsure or replacing the washers doesn't fix the leak, they should consult a professional plumber.
Showerhead leaks
A leaky showerhead can drip away hundreds of gallons over a short period. During Fix A Leak Week, or any other time of year, you can show your curious, water-savvy customers how tightening connections or replacing the showerhead with a WaterSense-labeled model can lead to significant water savings.
Outdoor leaks
Don't forget about outdoor leaks. Demonstrate an inspection of common leak sources such as garden hoses, spigots and sprinkler systems. These leaks can be more challenging to detect but play a substantial role in water conservation efforts.
What to do if a customer finds a leak?
Let’s dive into what you can suggest if a customer detects a leak in their home or office plumbing before a pro comes out to help. The first step is always to identify the leak source. Once they've got that pinned down, here’s what they can do, especially if they're a DIY enthusiast.
- Shut off the water: Before you do anything else, find the main water shut-off valve and turn it off to stop the flow. This prevents any more water from making the problem worse while you work.
- Inspect and diagnose: Take a close look at where the leak is coming from. Is it a dripping faucet, a leaking toilet, or maybe a pipe under the sink? Understanding the leak source will help you figure out your next steps.
- Gather your tools: For basic repairs, you might need a wrench, pliers, screwdriver, and possibly a bucket to catch any drips. If you’re dealing with a specific type of pipe or fitting, make sure you have the right tools for that material.
- Replace washers and gaskets: A lot of leaks in faucets or showers come down to worn-out washers or gaskets. These are usually easy to replace. Just remember to take the old one with you to the hardware store to get a perfect match.
- Use thread tape: If the leak is coming from threaded connections, wrapping new thread tape (also known as Teflon tape) around the threads before re-screwing can make a watertight seal.
- Tighten connections: Sometimes, leaks are just due to loose connections. A gentle tighten with a wrench might be all you need. Be careful not to over-tighten, though, as that can lead to more leaks.
- Check the pressure: High water pressure can lead to leaks. If leaks are a recurring problem, it might be worth checking your water pressure and having a professional plumber install a pressure reducer if necessary.
- When in doubt, call a pro: If the leak is more complicated than a simple fix, or if you’re not comfortable doing the repairs yourself, it’s time to call in a professional plumber. It’s better to invest in getting the job done right than to risk further damage. For leaks that defy simple fixes, the EPA recommends consulting with plumbing professionals. This ensures that more complex issues are addressed safely and effectively, preventing long-term water loss and damage.
Repairing leaky pipes the quick and easy way
When facing the common yet urgent problem of leaky pipes, push-to-connect fittings emerge as the simplest and quickest solution. These fittings offer an immediate, reliable fix without the need for specialized tools or extensive plumbing expertise. Push-to-connect technology is changing the game for both plumbing professionals and DIY enthusiasts, making plumbing repairs faster, easier and more efficient.
“For emergency repairs, pipe transitions and working in tight spaces, there really is no substitute for SharkBite Max push-to-connect fittings,” says Jeff Long, director of product management for SharkBite’s parent company, Reliance Worldwide Corp. (RWC).
“The next-generation design offers enhanced performance benefits of a higher pressure rating up to 250 psi, less insertion force required for installation and overall faster installation time than the first-generation fitting,” Long says.
The new stainless-steel retainer on SharkBite Max adds both strength and durability to the fittings, and the new design eliminates the need for the PEX stiffener on PEX applications. Just cut and deburr the pipe, mark the proper insertion depth, and push the fitting onto the pipe.
“SharkBite Max’s compatibility with copper, PEX, CPVC. PE-RT or HDPE SDR-9 pipe makes the fitting extremely versatile on the job site,” adds Long. “Without the need for soldering, tools or glue and the ability to rotate the fittings after installation, SharkBite Max is uniquely suited for installation in confined spaces.”
The bottom line? Push-to-connect fittings equal less hassle and more leak fixing.
More resources
The EPA's Fix A Leak Week webpage serves as a central hub for participants, offering a wealth of resources including detailed guides, instructional videos and a platform for sharing success stories. Through collective action and individual responsibility, we can make significant strides in water conservation, one leak at a time.
Looking for a reprint of this article?
From high-res PDFs to custom plaques, order your copy today!