Installing Sanicompact toilet allows location flexibility
Toilets everywhere!

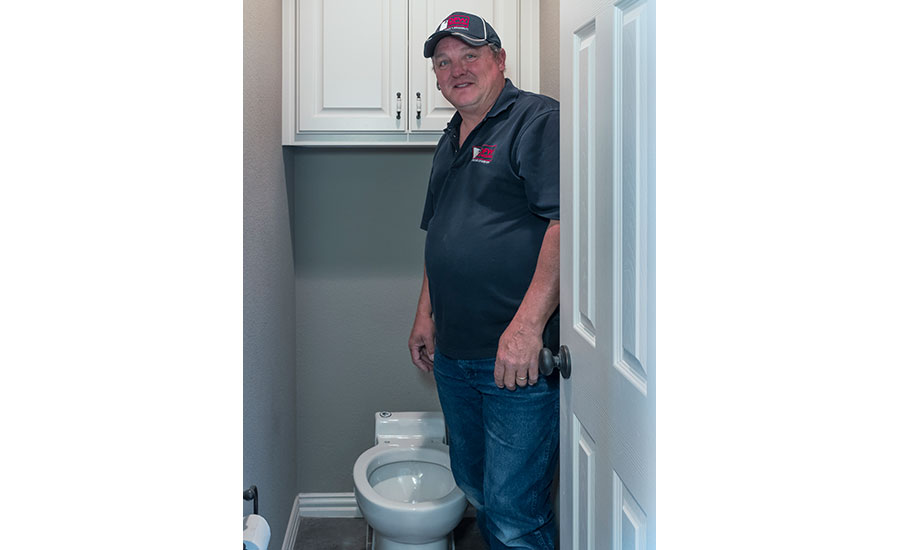
Bobby Trout has worked as the master plumber for DFW Improved, a remodel company based in Plano, Texas, for a long time. He’s been the master plumber there for three years. And he had a problem.
A house the company remodeled recently had its master bath toilet on the old cast iron line.
“The cast-iron line stopped up every six months; he had to have somebody out to unclog it. After at least six or seven trips out there and sewer cameras and jetting machines, we could not unstop it,” Trout says. “After many attempts to unstop and several video inspections we discovered a bad spot in the existing cast iron drain. To repair this was going to cost the customer more than $10,000, which was going to require jackhammering the slab, repairing the drain and new wood floors. The installation of this Sanicompact toilet was a cheaper and more permanent fix to an existing problem. This saved the customer a lot of money and aggravation,” Trout says, adding this was the first such toilet he had ever installed, but he says there were weren’t any “gotchas” involved in the project: “It actually went very straightforward, way better than I had thought it would go,” he says, noting the company is going to “start pushing them” a little bit more on certain jobs.
“It's not for every application,” he says. “But in certain cases where someone wants a bathroom and there's no plumbing readily available; rather than jackhammer halfway across their house, we are starting to push this as an alternative means of getting a toilet where they want to get it.”
The natural question is “what’s in it for the contractor?” Trout offers that it’s the ease of installation and, “the ability to solve an ongoing problem and save the customer tens of thousands of dollars.”
Follow along as Trout does his thing.
POTENTIAL DIFFICULTY SCALE: 
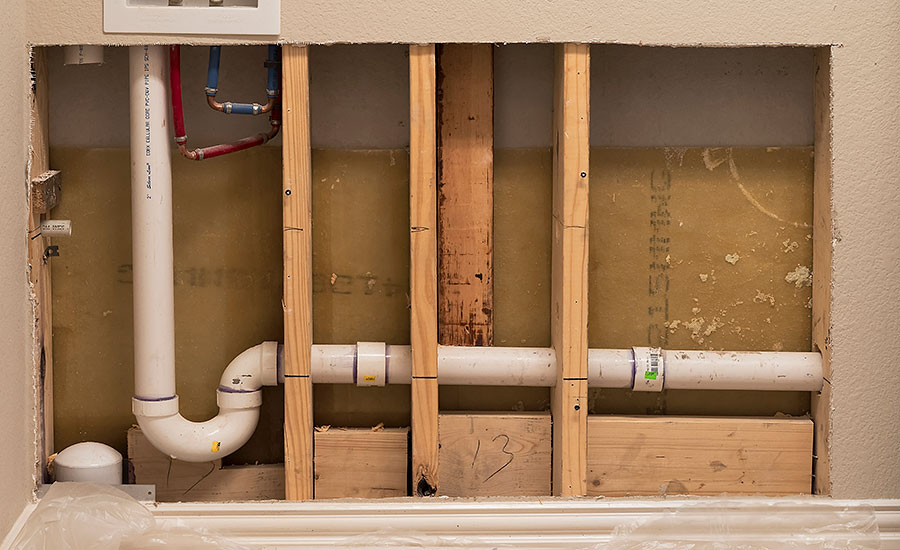
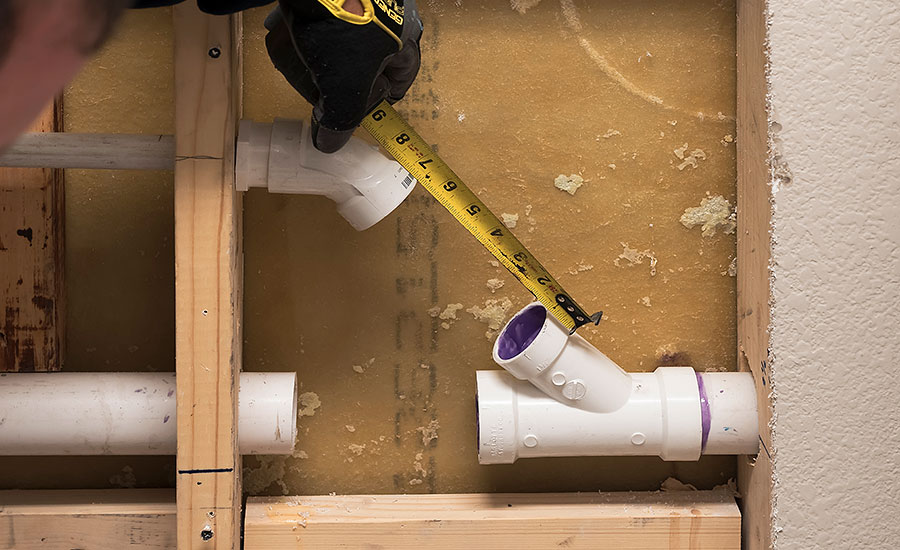
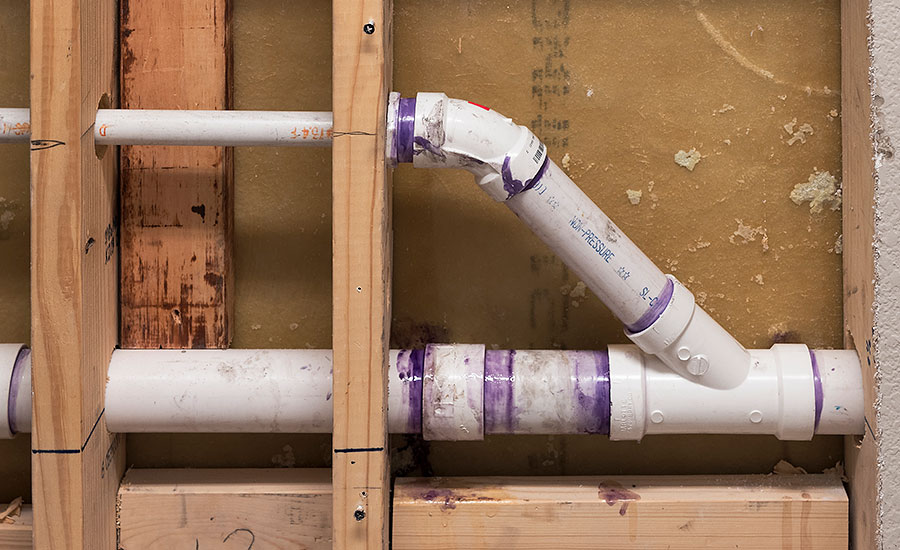
Picture 1 shows the existing drain line to the washing machine. In picture 2, Trout is cutting into the drain line to make the connection to the Sanicompact, while picture 3 shows the completed drain connection.
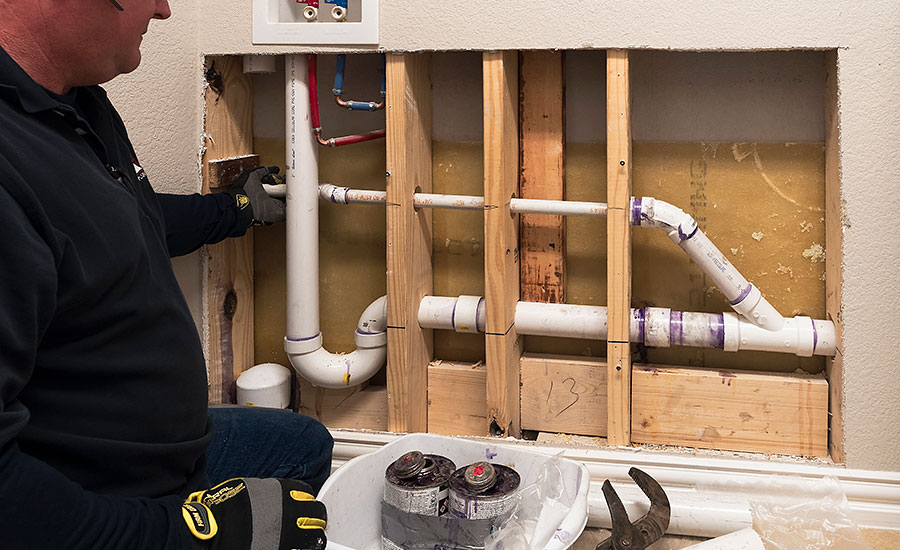
Here is an overall shot of the 3/4-inch drain line from the toilet which was just connected to the two-inch drain line from the washing machine.
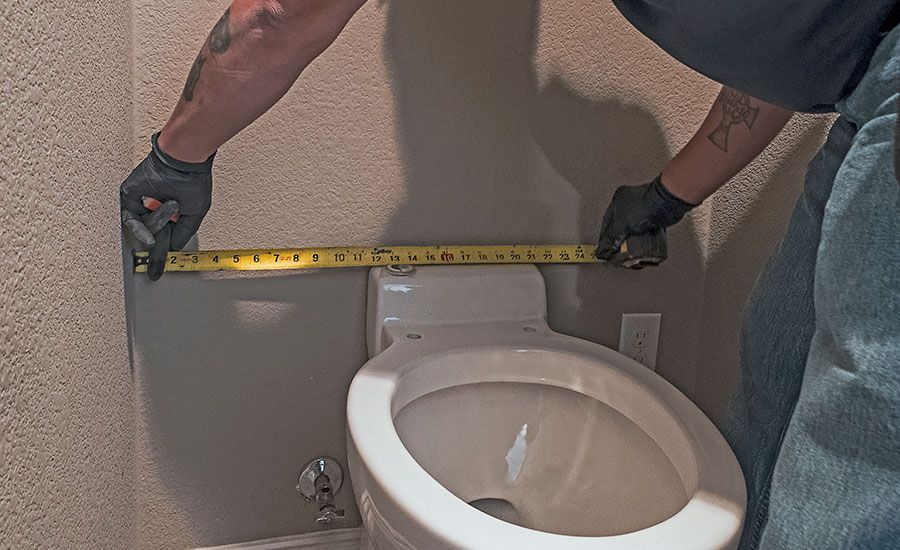
Here Trout measures the location to drill his hole through the sheetrock to extend the drain from the back of the toilet to connect to the existing two-inch drain line.
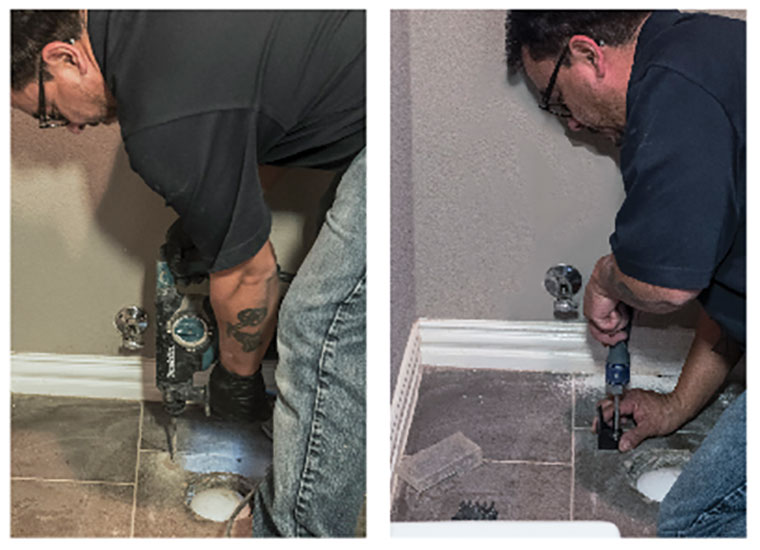
Once the existing toilet was removed, Trout drilled into the floor tile to install the mounting brackets that will secure the Saniflo toilet to the tile floor.
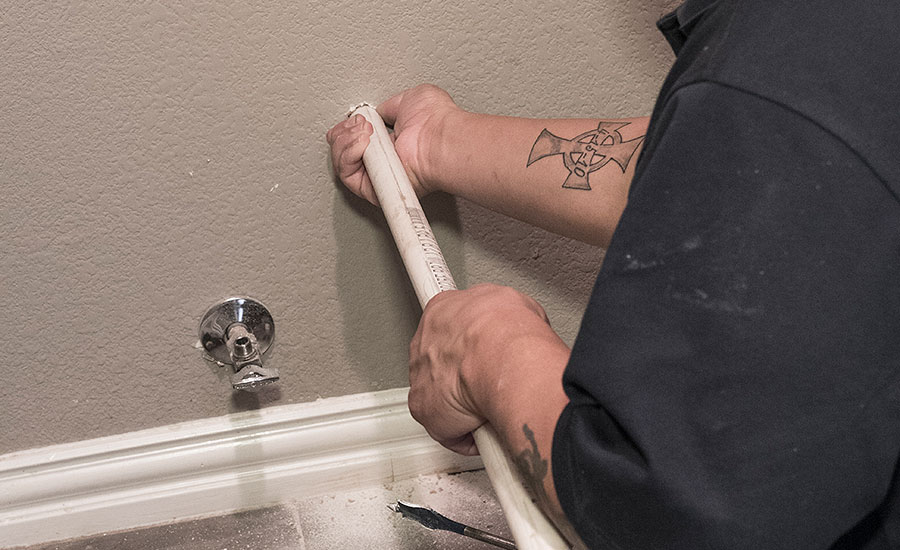
Here Trout extends the 3/4-inch drain line from the toilet, through the wall for final connection to the existing drain line in wall.
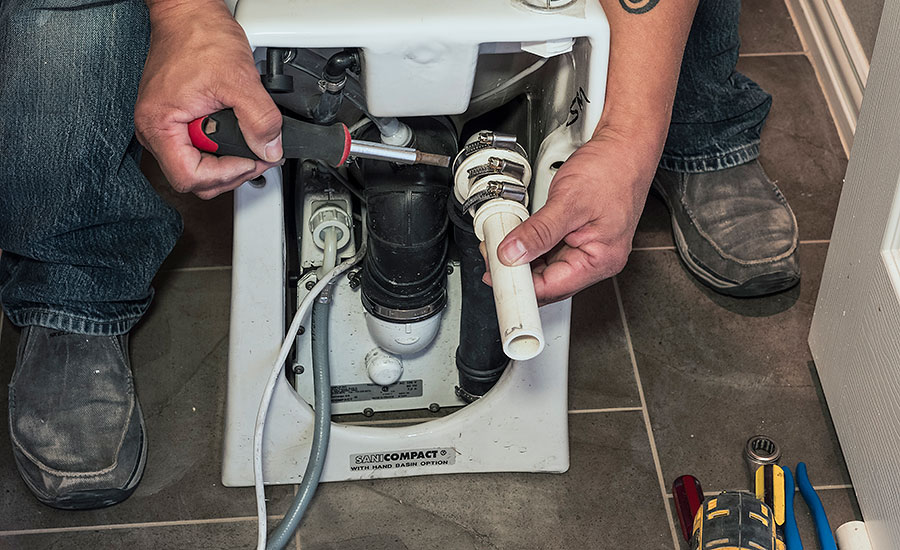
Trout makes the drain connections to the back of the toilet as detailed in the installation manual that comes with the product.
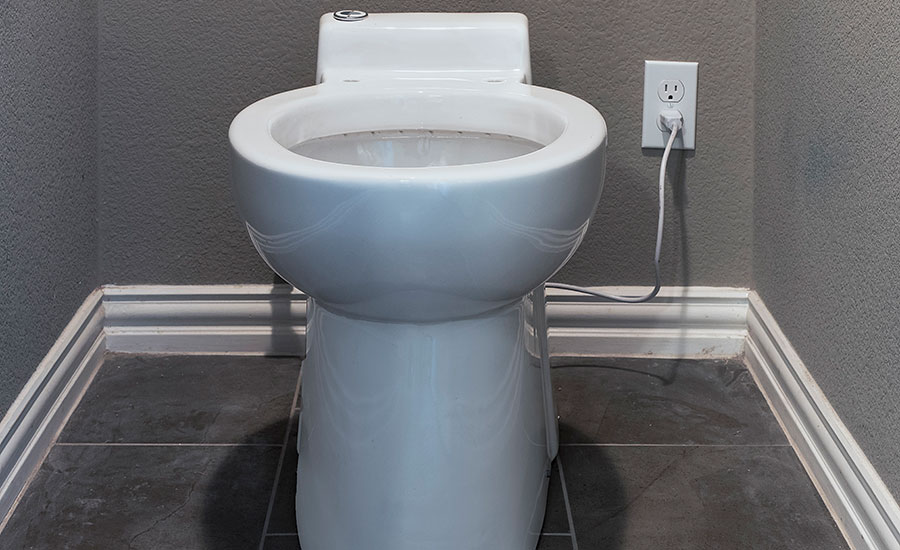
All done, and the customer has a working toilet without shelling out thousands of bucks to get it done.
"This article was originally posted on ww.reevesjournal.com."
Looking for a reprint of this article?
From high-res PDFs to custom plaques, order your copy today!